


1
2
3
4
5
6
7
8
9
10
11
12
13
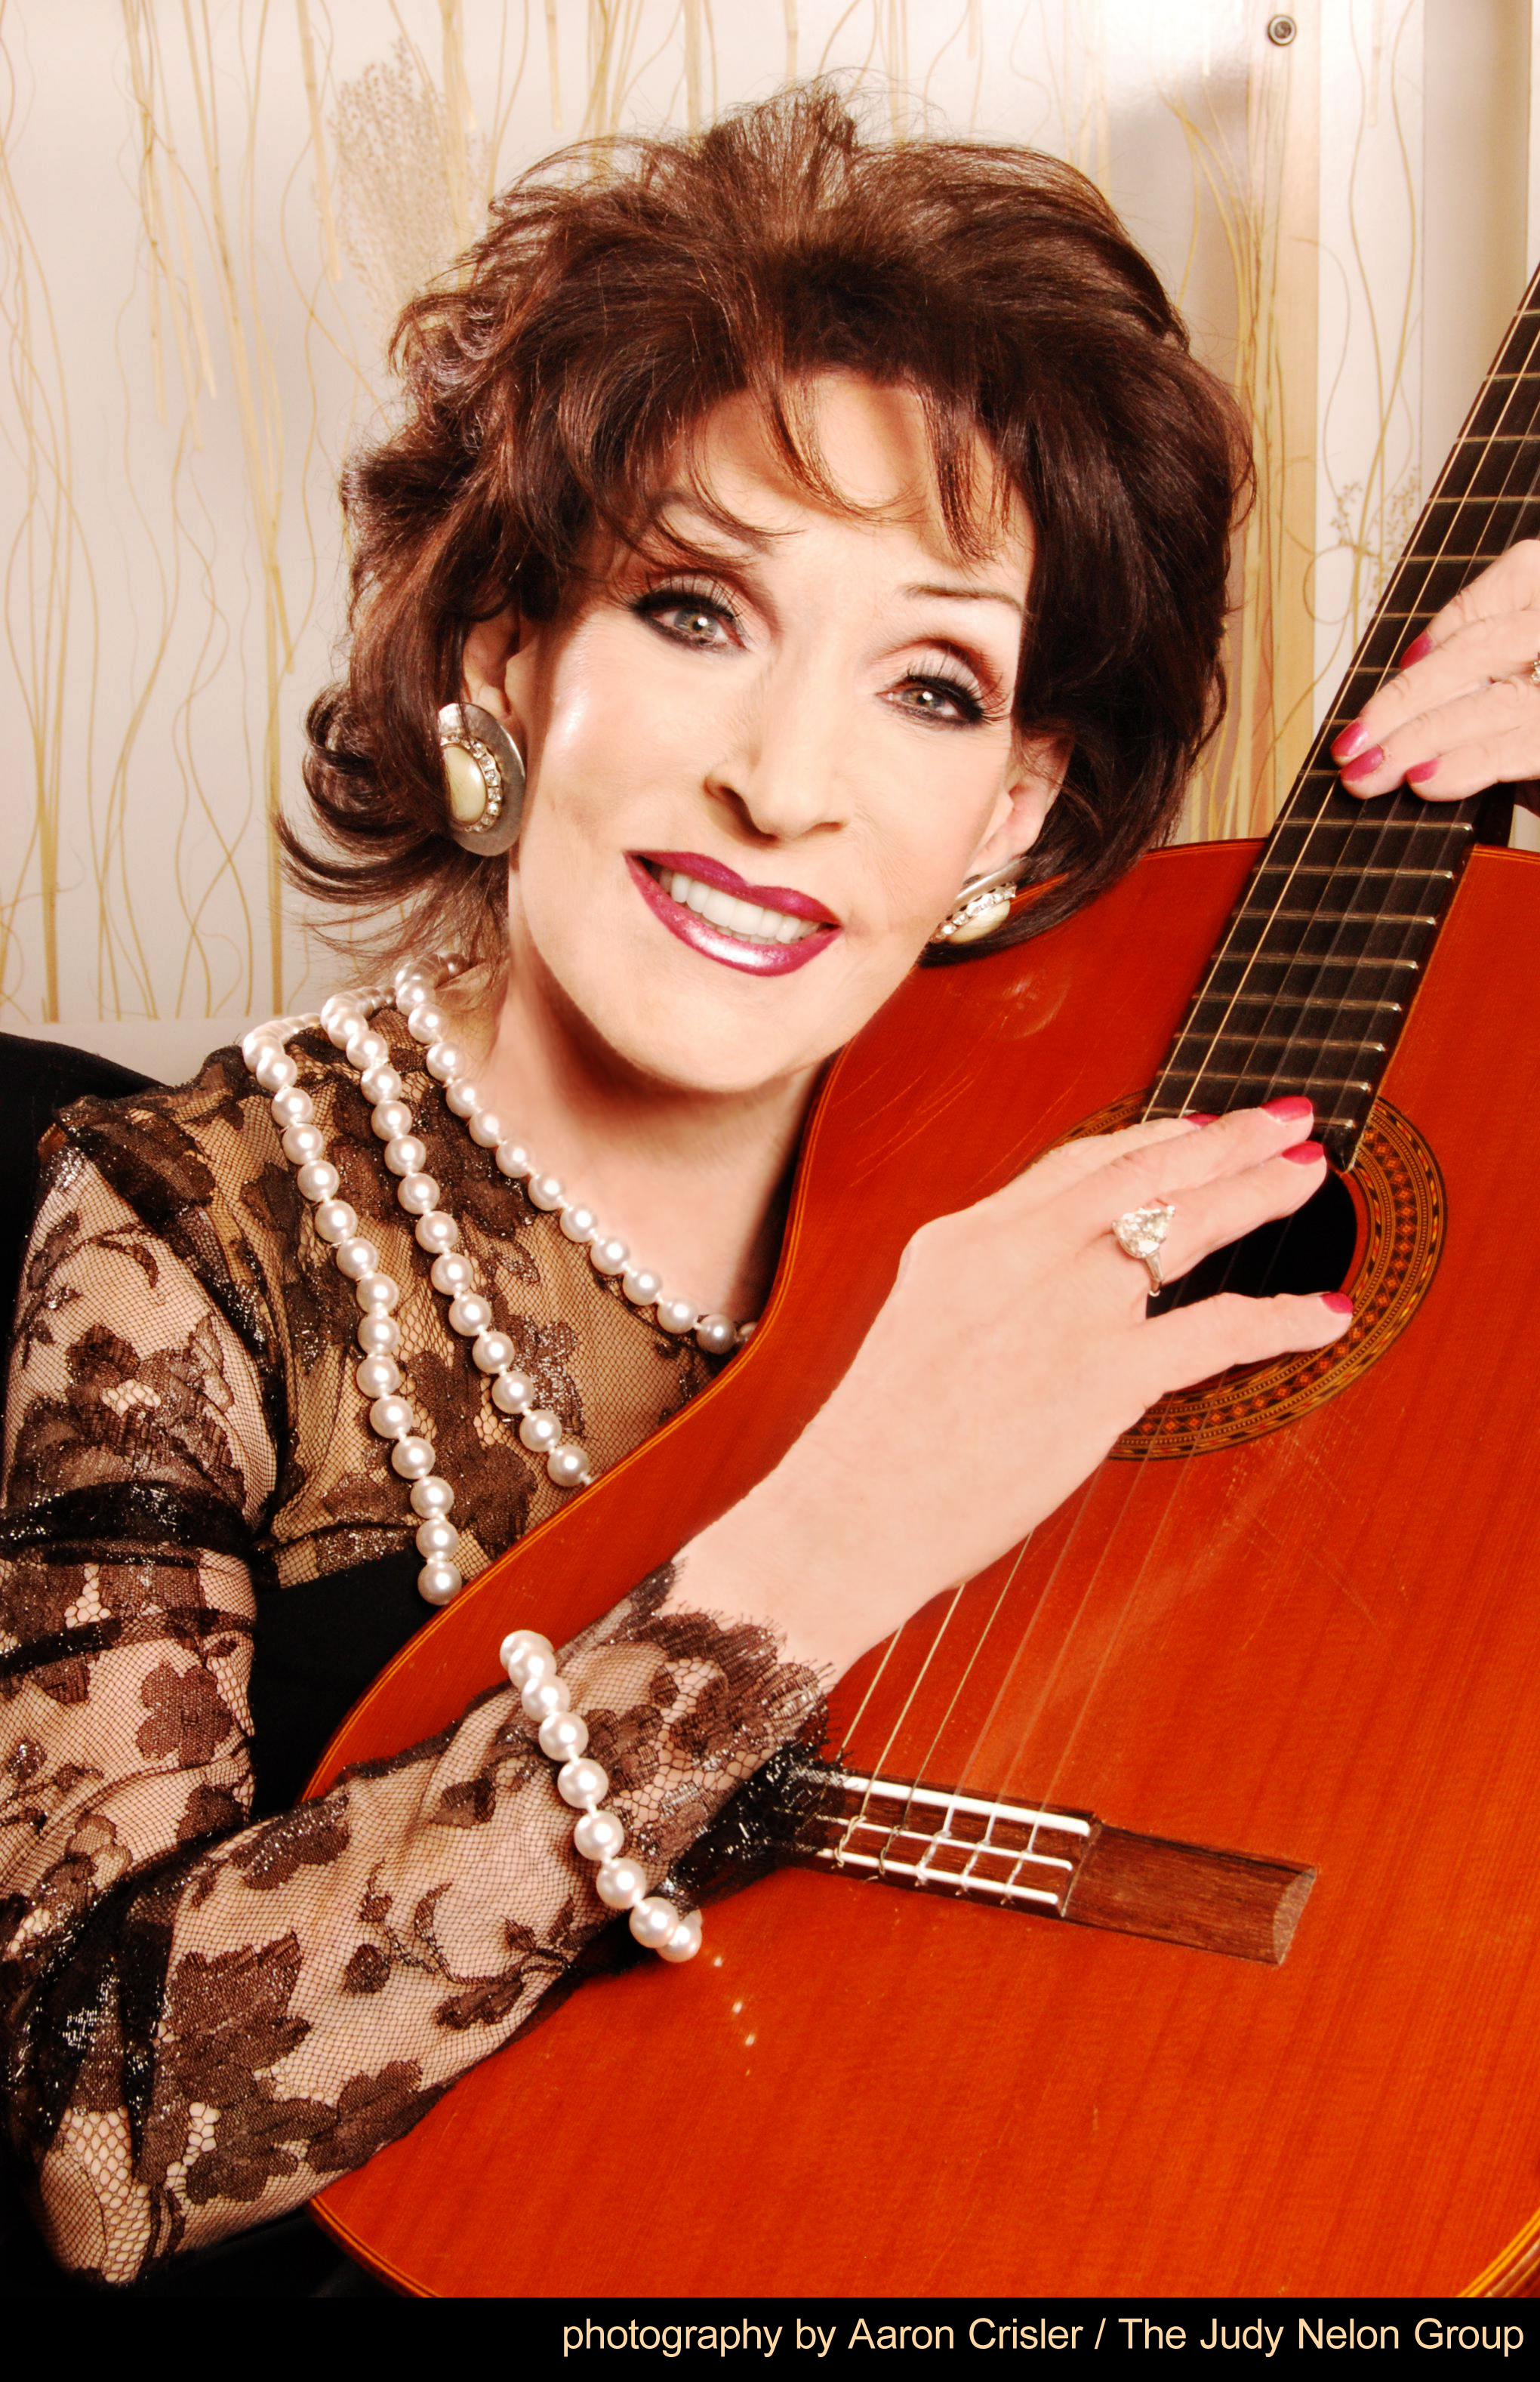
Photo credit: Aaron Crisler
Photo by Aaron Crisler
Photo Credit: Aaron Crisler
Photo Credit: Paul Wharton
Photo Credit: Paul Wharton
Photo Credit: Sandy Campbell
Photo Credit: Sandy Campbell
Photo Credit: Sandy Campbell
Dottie and The Isaacs
Photo By Tim Campbell